Kitchen Design Sydney: How a Custom Kitchen Actually Gets Designed, Decision by Decision
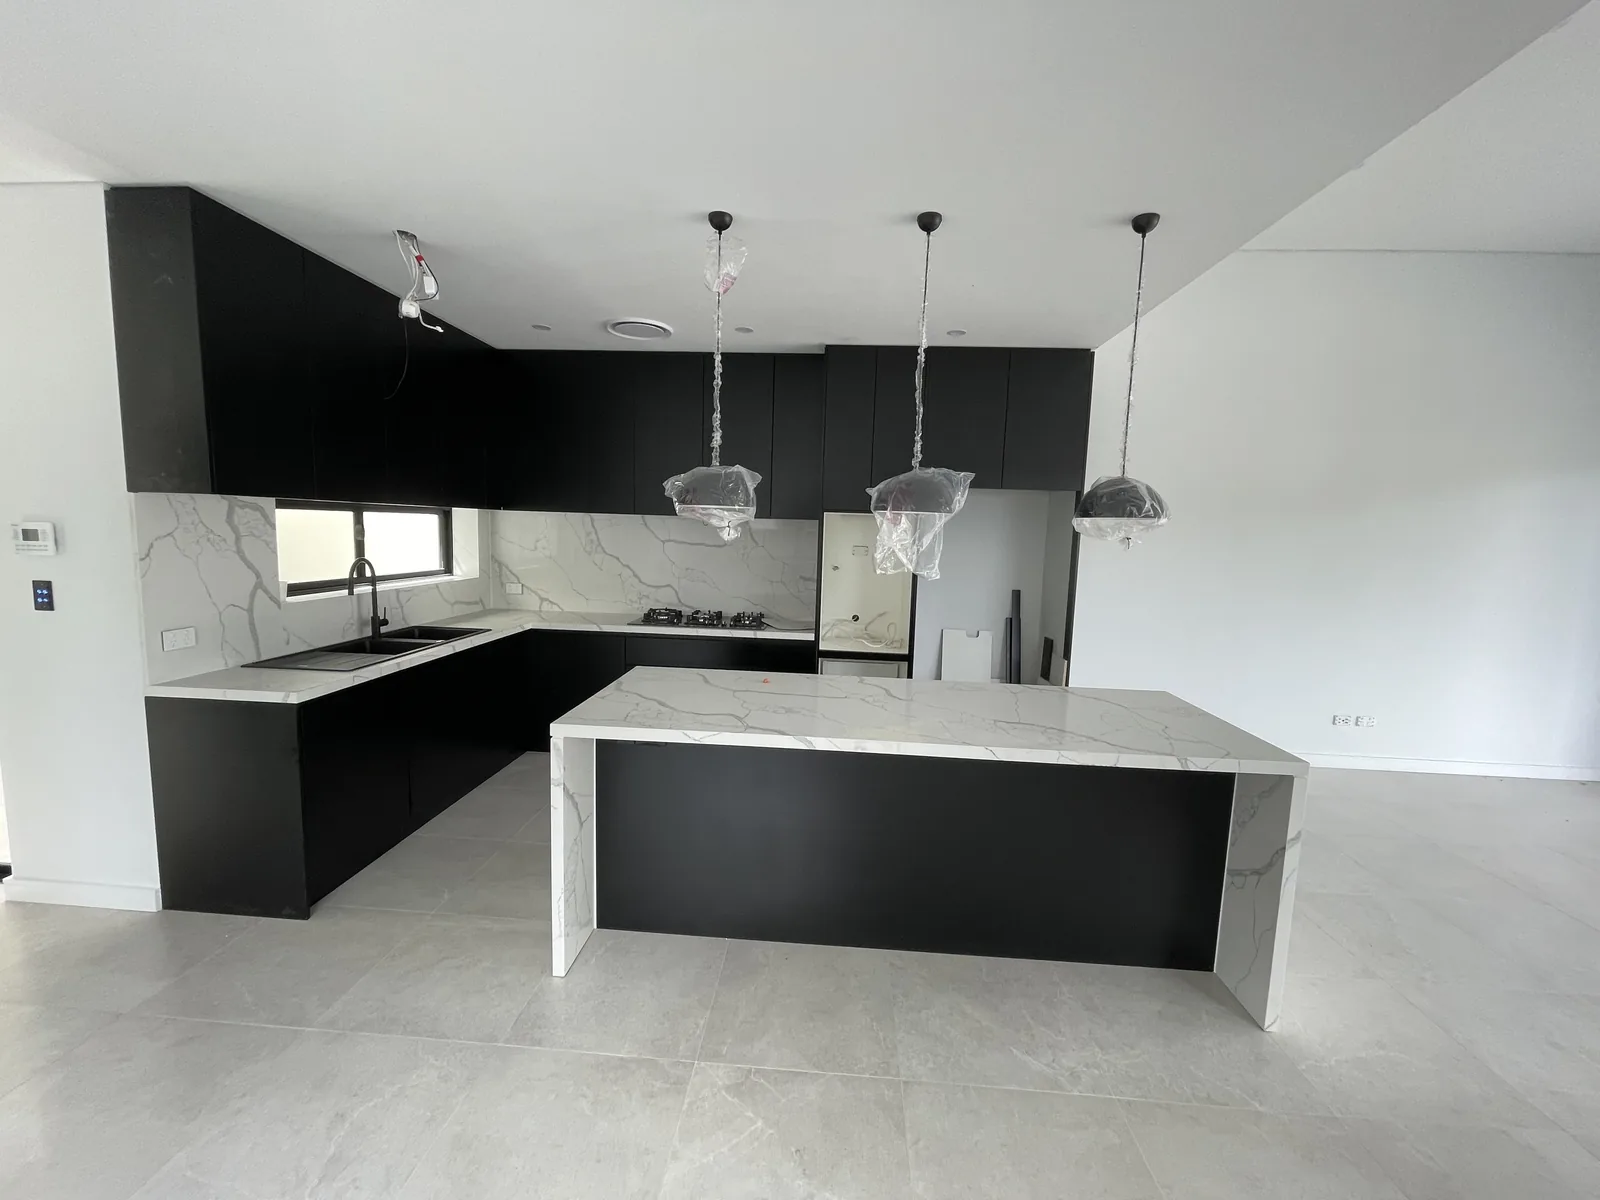
Most people come to a kitchen designer with a picture. The picture is the last decision, not the first. Here is the order a custom kitchen is actually designed in, what gets decided at each step, and what it looks like on three real Sydney kitchens.
TL;DR: Good kitchen design is a sequence, not a mood board: fix the footprint and services first, then the layout and work zones, then cabinet sizes and internals, then benchtop and splashback, then doors, finish and hardware — and lock every one of those on a dimensioned drawing before anything is cut. We run that sequence on every kitchen from an online consultation through to a fixed-price quote and design lock-in, and this article shows what each step decides, using three finished Sydney kitchens.
Kitchen Design Starts With What Cannot Move
I'm a licensed contractor based in Liverpool, and every kitchen we design starts in the same place: the things that cannot move, or that cost real money to move. Where the water comes in and the waste goes out. Where the gas or the cooktop circuit is. Where the range hood can actually vent. Which walls are structural. Where the windows and doors are and which way they swing. In an apartment, where the building's services run and what the strata rules allow you to touch.
On a new apartment fitout on Military Road in Willoughby, the unit came to us as a bare shell — concrete walls, no kitchen, and the building's water system tanks sitting in the open right next to where the kitchen had to go. That kitchen was designed around the tanks from the first drawing. Pretending they were not there would have produced a nice render and an unbuildable kitchen.
The opposite case is a new build. On a Leichhardt new build there was no old kitchen to work around, so the joinery could be set out properly from the start rather than fitted around existing plumbing. That freedom is rare in a renovation. In most Sydney homes the design job is making the best kitchen the fixed points allow, and knowing which of them are worth the cost of moving.
Step Two: Layout and Work Zones, Before a Single Cabinet
With the fixed points mapped, the next decision is layout: galley, L-shape, U-shape, or a run with an island. We have a separate guide comparing kitchen layouts for Sydney homes, so I will not repeat it here. What matters at this stage is that the layout is chosen for how the kitchen is used, not how it photographs.
That means placing the three zones — wet (sink and dishwasher), hot (cooktop and oven) and cold (fridge and pantry) — so that the paths between them are short and do not cross the main walkway. It means checking clearances: room to open the dishwasher and oven doors fully, room for two people to pass, and if there is an island, enough clearance around it. Our island bench guide covers the minimum sizes, because an undersized island is the most common design mistake we are asked to fix.
Only once the layout works on paper do we start dividing it into cabinets.
Step Three: Cabinet Sizes, Internals and the Tall Run
This is the step most kitchen showrooms skip, and it is where a custom kitchen earns its money. Every run is divided into cabinet widths that suit what goes in them and read evenly from the front. Drawers are placed where you stand to cook, not where a module happened to fall. Pot drawers get the depth pots need. The bin gets a pull-out that lines up with where you prep. Corner cabinets get a real answer rather than a dead void.
The tall run — pantry, fridge cavity, oven tower — is designed as one piece so the heights line up. The fridge cavity is sized to the actual fridge you own or are buying, with ventilation, not a generic gap. If a walk-in pantry is in the brief, its shelving depth and bench are set to the containers and appliances that will live there; the Leichhardt kitchen has a walk-in pantry in matching black with full-height open shelving and a stone bench, designed at the same time as the kitchen rather than as an afterthought.
What we are producing at the end of this step is a dimensioned elevation of every wall, with each cabinet, drawer and internal fitting marked. That drawing is the design. Everything after it is finish.
Step Four: Benchtop and Splashback as One Decision
Benchtop and splashback are chosen together because the way they meet defines the look of the kitchen more than the doors do. The choice is material first — laminate, engineered stone, porcelain, natural stone or timber, each with its own cost band and maintenance, all compared in our benchtop materials guide — and then how far the material goes.
Carrying the benchtop stone up the wall as a full-height splashback, with the veining continued behind the cooktop and sink instead of stopping at a tiled band, is the detail that makes a kitchen read as one piece. Both the Leichhardt kitchen, in 40mm Calacatta Maximus with waterfall ends to the island, and the Willoughby apartment, in AC Stone Viola Rosse with a matching splashback, were designed that way. It costs more in slab than tiles do, and it removes a grout line you would otherwise clean forever.
Thickness, edge profile and whether the island gets waterfall ends are locked here too, because they change the slab count and therefore the quote.
Step Five: Doors, Finish and Hardware — The Decision Everyone Starts With
Now the picture. Door style, colour, finish and how the doors open are the last design decisions, and by this point they are easy, because the kitchen already works.
Door profile. A flat board door for a contemporary kitchen; a shaker or slim shaker for something more traditional or transitional. Finish. Sprayed 2pac polyurethane in any colour, matt or satin, with fully sealed edges; or a laminate board finish from Polytec or Laminex, which is the more affordable route and now includes convincing stone-look and timber-look ranges. The trade-offs are in our finishes guide.
How the doors open. This is the decision people underestimate. A handle is the obvious answer. A fully handleless kitchen has three real options: a J-pull groove machined into the door top, a 45° sharknose fingerpull machined into the door edge, or push-to-open hardware with nothing on the face at all. The Leichhardt kitchen is black matt with a 45° sharknose fingerpull on every door and drawer front, so the fronts read as one continuous surface. The Willoughby kitchen runs the same sharknose in Dulux Creamy White, carried across the integrated dishwasher panel so the line is unbroken, while its hallway pantries are push-to-open with nothing on the fronts at all. Two handleless kitchens, two different answers, chosen for how each run is used.
Hardware. Soft-close hinges and drawer runners are standard on our kitchens. What is worth deciding is drawer grade and whether internal drawers sit behind doors; the Willoughby pantries use slimline inner drawers for exactly that reason.
Design Lock-In: Why Nothing Is Cut Until the Drawing Is Signed
The last step in our design process is the one that protects your budget. Every decision above — layout, cabinet sizes, internals, benchtop, splashback, doors, finish, hardware — is confirmed on a dimensioned drawing and a written finish schedule, and the fixed-price quote is issued against that drawing. We call it design lock-in, and it is set out with the rest of our process on the how we work page.
It matters because a kitchen is manufactured, not assembled on site. Once doors are sprayed and stone is cut, a change is a remake. Locking the design first is what makes a fixed price honest, and it is the difference between a quote and an estimate. Our guide to choosing a kitchen renovator in Sydney goes into why that matters when you are comparing quotes.
If you are starting a kitchen, the useful first step is not a showroom visit. It is a floor plan, a few photos and a conversation about how you cook. That is exactly what our kitchen design and renovation process starts with — an online consultation, then a site measure — and it is where every kitchen in this article began.
Frequently asked questions
What is the first step in designing a kitchen?
Mapping what cannot move: plumbing, gas or cooktop circuit, range hood venting, structural walls, windows and doors, and in apartments the building services and strata rules. Layout, cabinets and finishes are all designed inside those fixed points, so they have to be known first.
Do I need a kitchen designer or a joiner?
For a custom kitchen, the joiner who builds it should be designing it, because cabinet sizes, internals and how the doors open are manufacturing decisions as much as design ones. We design every kitchen we build, from layout through to a dimensioned drawing and finish schedule, and quote fixed price against that drawing.
How long does the kitchen design process take?
It depends on how many decisions are already made and how quickly finishes and appliances are chosen. The sequence with us is an online consultation, a site visit and measure, a fixed-price quote from a dimensioned drawing, then a design lock-in where every finish and internal is confirmed before production starts. The lock-in is the step that sets the timeline for manufacturing.
Should I choose the benchtop or the doors first?
Benchtop and splashback first, as one decision, because how they meet defines the kitchen more than the doors do and their material changes the quote most. Door profile, colour and finish come last, once the kitchen already works and the slab is chosen.
What are the options for a handleless kitchen?
Three main ones: a J-pull groove machined into the top of the door, a 45° sharknose fingerpull machined into the door edge so the fronts read as one surface, or push-to-open hardware with nothing on the face. Each suits different runs — we often use a sharknose on the main kitchen and push-to-open on tall pantries in the same home.
InsideOut Joinery & Renos is a family-run custom joinery and renovation business based in Liverpool, Sydney NSW 2170, serving homeowners Sydney-wide. Call 02 5000 0402 or email info@insideoutjoinery.au. One point of contact — we organise and manage every trade on your job, with quick turnaround and 12 years of experience. Licensed contractor — licence 383725C, ABN 62 912 909 739.